DIY Instant Photo Frames: How to Craft Unique Displays for Your Prints
Essential Materials and Tools for DIY Photo Frames
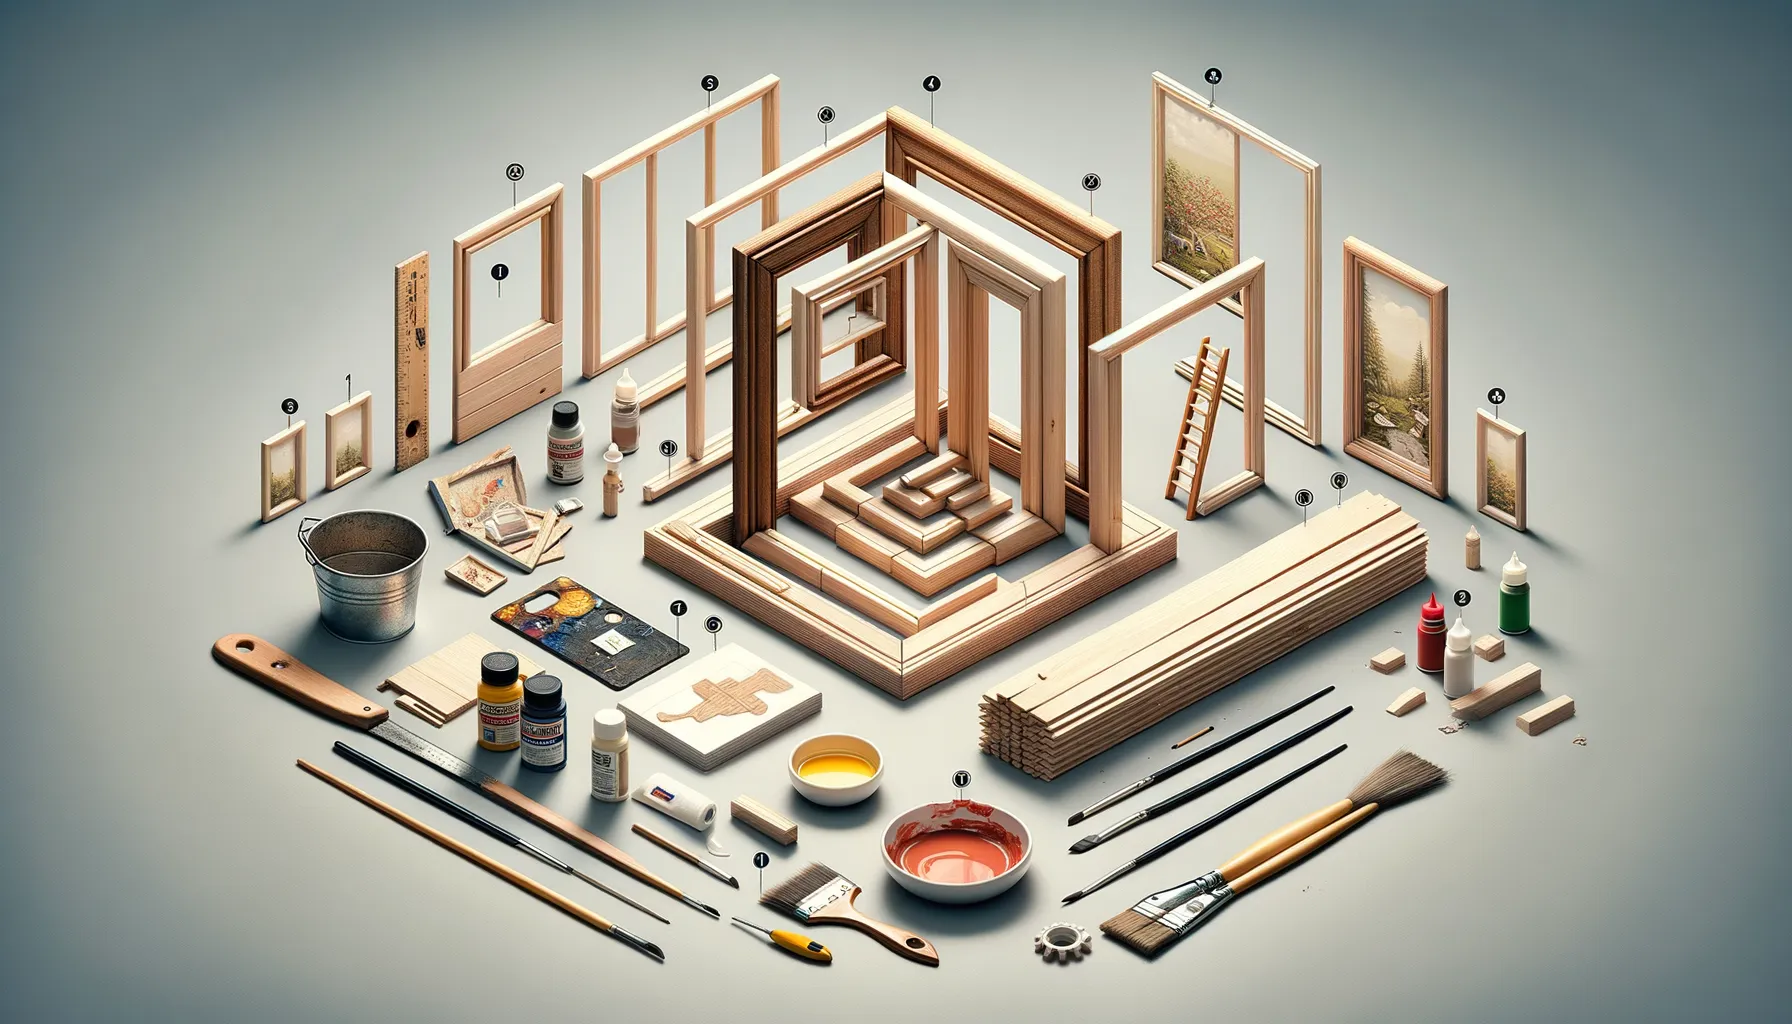
Gather Your Basics: What You’ll Need Before You Start
Before you dive headfirst into this creative adventure, let’s talk essentials. Crafting a DIY photo frame should feel like a mix of magic and hands-on fun—not a scavenger hunt for missing supplies! Here’s a quick rundown to get you prepped and ready:
- Cardboard or wood sheets: These are your canvas, the backbone of your masterpiece. Pick what suits your vibe—sturdy wood for a rustic charm or card stock for something light and playful.
- Scissors or craft knives: Precision is key here. Trust me, a clean cut can make or break your design.
- Adhesives: Think glue guns for heavy-duty holds or double-sided tape for delicate touches.
- Decorative materials: Ribbons, paint, washi tape, dried flowers—you name it! This is where the magic happens.
The Underrated Heroes: Tools You Didn’t Know You’d Need
Now, some tools might not be on your radar but trust me, they’ll save you from unnecessary frustration. A ruler? Critical for neatness. A bone folder? If you’re working with paper edges, it’s a game-changer. Sandpaper for wood frames? Oh yes, smooth edges make all the difference when aiming for that polished look.
And don’t underestimate the power of a humble pencil—it’s your guide, your safety net. Light sketches and measurements are the secret to results you’ll actually want to show off.
Step-by-Step Guide to Crafting Unique Photo Frames
Gather Your Materials and Clear Your Space
Before you dive in, let’s set the stage. Think of it as preparing the canvas for a masterpiece! Lay out your essentials: a ruler, scissors, glue, decorative paper, washi tape, and your instant prints. Trust me, having everything within arm’s reach saves you from that frantic “where’s my tape?” moment halfway through. Oh, and don’t forget a clean, open workspace – your creativity deserves room to breathe.
Cut, Assemble, Decorate – The Magic Trio
Here’s where the fun begins. Imagine your photo frame as a blank story waiting for flair:
- Measure and cut: Use sturdy cardboard for the frame base. Cut it slightly larger than your photo, leaving at least a half-inch border on each side.
- Assemble with love: Glue your print to the center, then layer decorative elements like lace, fabric scraps, or vintage book pages around it. Play with textures!
- Bring it to life: Add personality with stickers, dried flowers, or even quirky doodles. This is where your story shines—no rules, just vibes!
Your hands might get messy, but isn’t that the best part? Every cut and splash of glue turns into an irreplaceable keepsake.
Creative Display Ideas for Your Instant Photo Frames
Bring Your Photos to Life with Whimsical Arrangements
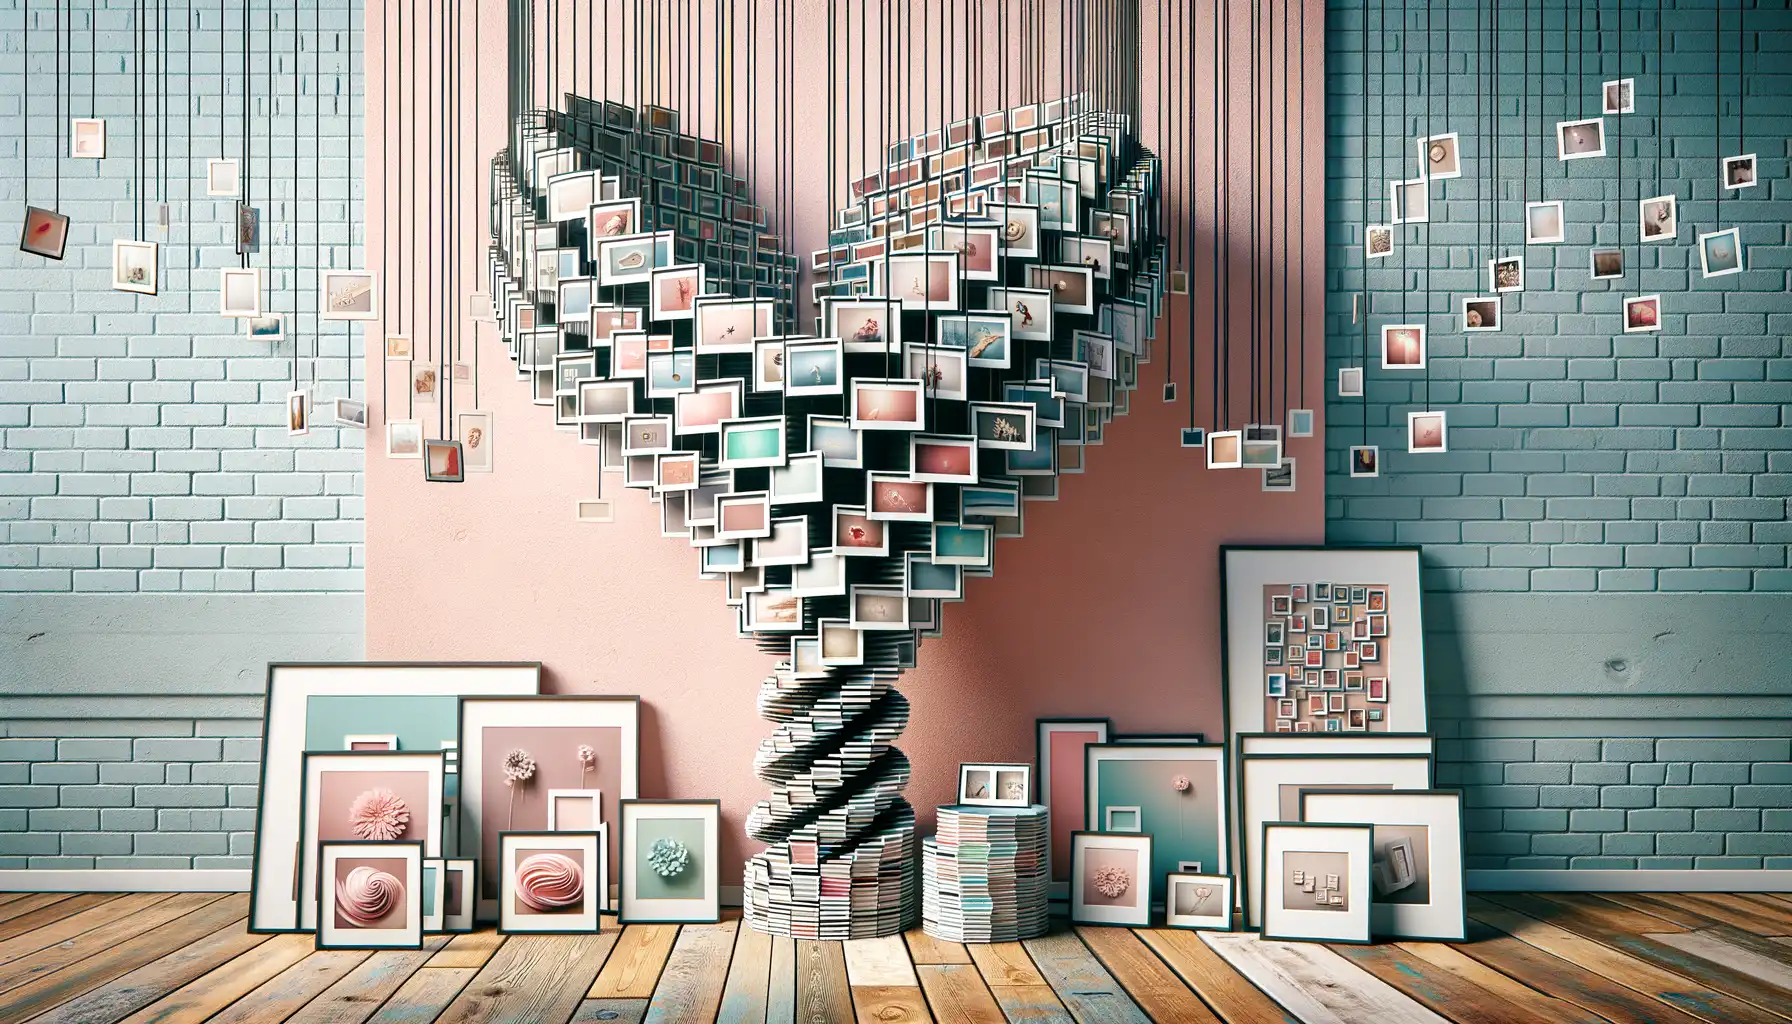
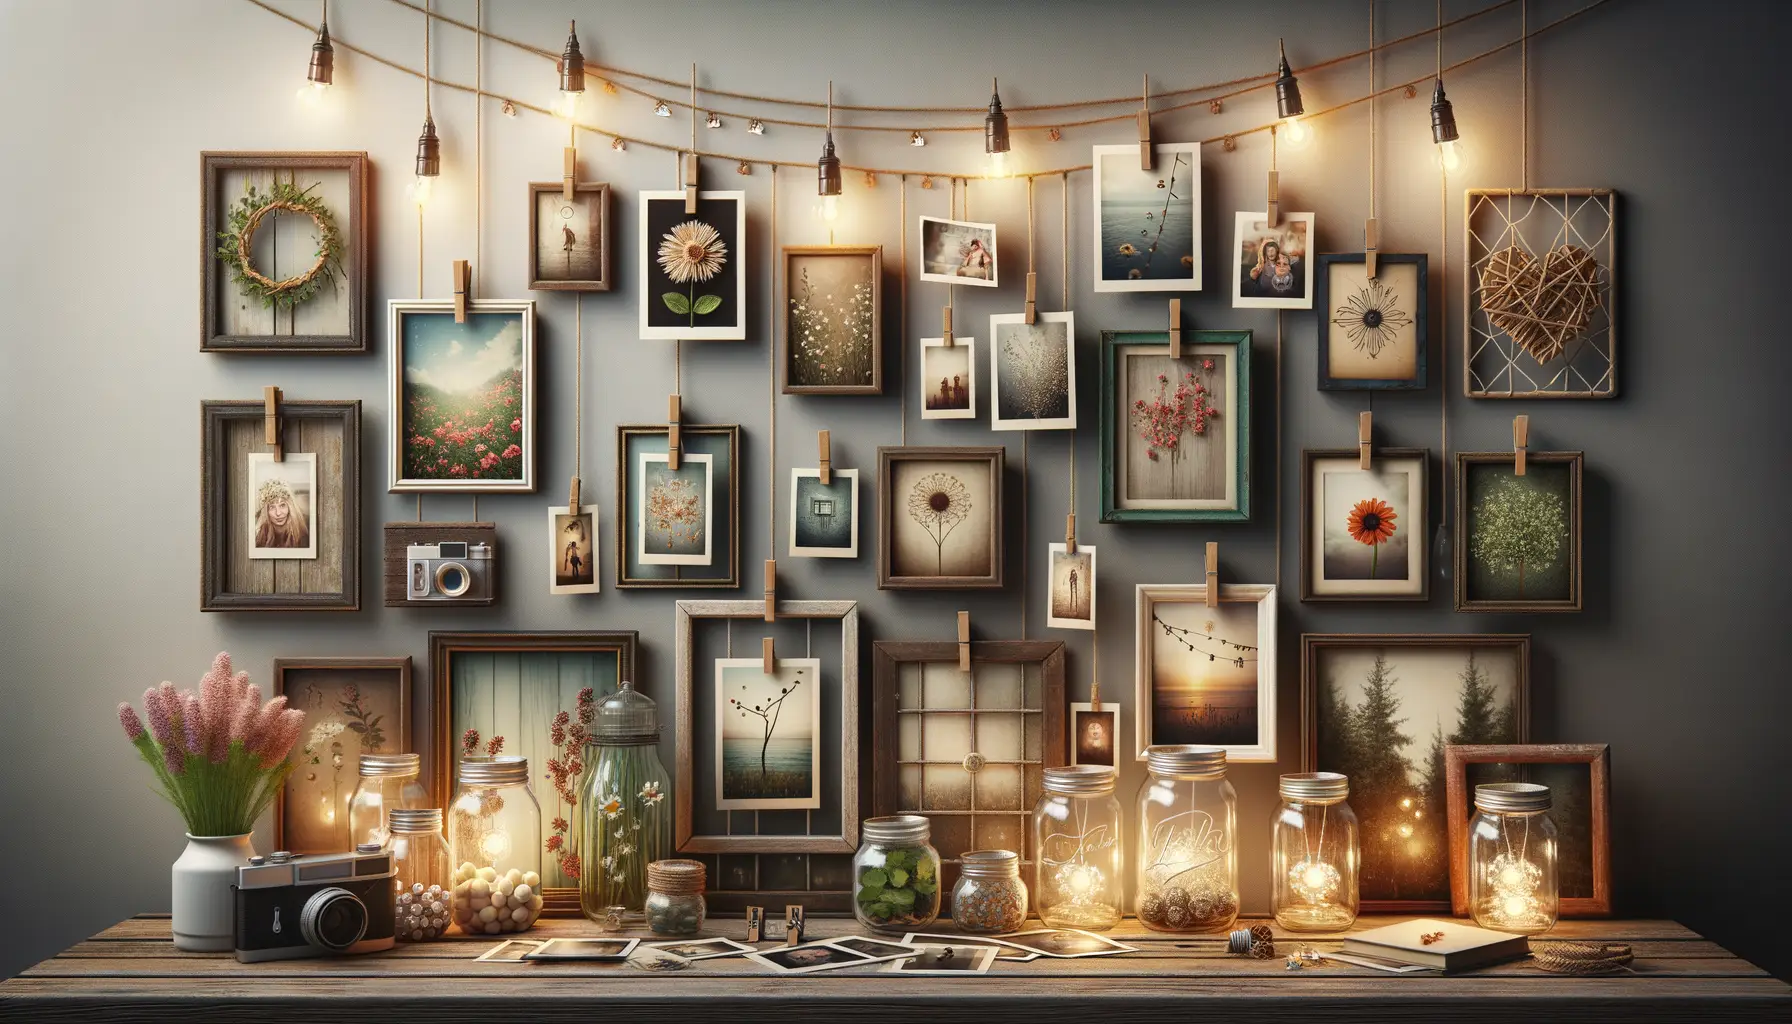
Ready to go beyond the basics? Let’s transform your instant photo frames into a gallery-worthy display that will stop visitors in their tracks. Think playful, think bold! A simple string of lights can instantly elevate your photos—wrap a warm-toned fairy light strand around a frame for a soft, glowing effect. Or, push boundaries by mounting your frames on a corkboard in *just-barely-organized chaos.* Layer, overlap, and pin them at quirky angles—the kind of delightful mess that sparks conversations.
Want something more structured? Try creating a themed wall collage! For instance:
- Use beach-themed decor like starfish and seashells for summer vacation snaps.
- Anchor dreamy wedding photos with faux florals matching your bouquet.
- Highlight bold cityscapes or travel memories inside painted geometric frames for a modern twist.
The magic is in the details, so don’t hold back!
Unexpected Spaces Equal Bigger Smiles
Why stick to walls? Display your treasures somewhere unexpected. Line a tabletop tray with framed photos for a coffee table centerpiece that begs to be admired. Or, turn unused corners of your home into mini galleries—think the sides of bookshelves or even the edges of your bedroom mirror. Feeling adventurous? Attach tiny frames to magnets and let your fridge double as a memory board.
Remember, your photos deserve more than a dusty shoebox—they deserve to *live*. Make each display uniquely yours. Let those memories sing right where everyone can see them!
Tips and Tricks for Personalizing Your Photo Displays
Make It About You: Adding Personality to Your Photo Displays
Doesn’t it feel magical when your photo display whispers stories about you? Personalizing your photo frames is like giving them a soul—your soul. Let’s dive into ways to sprinkle a little “you” onto those frames!
- Add Found Treasures: Got seashells from a beach trip? A pressed flower from that unforgettable date? Glue or pin these tiny keepsakes onto your frames for a touch of nostalgia.
- Play With Colors: Are you all about bold, happy hues or soft, muted palettes? Pick paints or patterned paper that match your vibe. Bonus tip: Metallic accents like gold or rose gold scream elegance!
- Write or Draw: Use markers to jot down quotes, doodles, or even song lyrics that capture the essence of your photo moments.
Unique Touches That Tell a Story
Ever tried layering textures? A strip of burlap, lace, or even pieces of denim from old jeans can give your frames a tactile twist. Love travel? Glue mini maps behind your photos for an adventurous backdrop—you’ll feel like you’re still wandering that cobblestone street in Rome.
Don’t forget scents! Dab a bit of essential oil (like lavender or citrus) on the back of your frames. Now your display won’t just look amazing—it’ll smell incredible too.
Common Mistakes to Avoid While Crafting
Overlooking the Importance of Precision
Crafting DIY photo frames should feel like a joyful dance, not a clumsy stumble. But one misstep many crafters take? Rushing through measurements. It’s tempting to “eyeball it,” but trust me, this can quickly leave you with an awkward frame that either swallows your photo or leaves it gasping for space. Always measure twice (or three times!) before cutting. Use a ruler or tape measure—and yes, a pencil mark won’t hurt. Perfection isn’t the goal, but avoid turning your masterpiece into a lopsided fiasco!
Poor Glue Choices and Over-Globbing
Ah, glue—the unsung hero or sneaky saboteur of your crafting journey. Choosing the wrong type can lead to floppy frames or dried glue blobs stealing the spotlight from your beautiful design. A few no-nos to watch out for:
- Using school glue for heavy materials—it simply won’t hold up.
- Dolloping too much adhesive, leaving unsightly smears everywhere.
- Skipping drying time—frames need patience, not haste!
For best results, invest in a sturdy adhesive like a hot glue gun or wood glue when handling heavier frame materials. Apply sparingly, because with glue, less truly is more.