Mastering Manual Settings on Your Instant Camera: Tips for Beginners
Understanding the Basics of Instant Cameras
There’s something magical about instant cameras—like holding a piece of time right in your hands, seconds after it happens. Whether you’re new to photography or just diving into the world of analog fun, understanding how these delightful devices tick will make your journey smoother and more rewarding.
So, How Do Instant Cameras Work Their Magic?
Think of an instant camera as a tiny photography lab packed into a quirky little box. When you press the shutter button, light enters through the lens, exposing the film inside. Then, voilà! The camera ejects a photo that develops before your eyes, thanks to a clever mix of chemical magic—layers of dye and developer react to light and timing. Yes, it’s science… but somehow, it feels like sorcery!
The Heart of the Instant Camera: Film & Features
Not all instant cameras are created equal. Here’s what to keep in mind:
- Film type: Some cameras use square prints, while others create mini portrait-sized snaps. Choose what fits your vibe!
- Built-in settings: Many beginner-friendly models have automatic modes, though manual options unlock creative freedom (more on that later).
- Lens and flash: Pay attention to focal length and whether the flash fires automatically or manually—it can dramatically impact your final shot.
Once you get familiar with these basics, you’ll see why instant cameras are more than just photography tools—they’re gateways to memories, storytelling, and moments of spontaneous joy.
Step-by-Step Guide to Adjusting Manual Settings

Fine-Tuning the Shutter Speed and Aperture
Let’s dive into the fun part—adjusting manual settings on your instant camera! Picture this: You’re standing in front of a breathtaking sunset, but your photo looks washed out or too dark. That’s where knowing how to tweak shutter speed and aperture makes all the difference.
Your shutter speed controls how long light dances its way into your frame. Want dreamy motion blur in a waterfall? Go for a slower setting like 1/60 or 1/30. Craving sharp, action-packed shots of your hyperactive dog? A faster speed like 1/500 is your best friend.
As for aperture (or the “f-stop”), think of it as your lens’s eyelid—wide open (f/2.8) lets in tons of light, while a tiny squint (f/16) keeps things crisp and detailed in bright sunlight. Experiment is key, but don’t forget: smaller numbers mean brighter photos, while larger ones sharpen what’s in focus.
- Start with automatic suggestions, then gradually adjust one setting at a time.
- Always shoot a test photo before committing—your instant film is precious.
Mastering ISO for Moody Shots
ISO is your secret sauce for setting the mood! Think of it as the sensitivity level of your camera’s “eyes.” A lower ISO (e.g., 100) produces clean, smooth images—ideal for sunny afternoons or well-lit indoor spaces. But when you’re chasing glow-in-the-dark moments at a party or a city skyline at night, crank it up to ISO 800 or beyond for those dramatic, grainy vibes.
A quick tip? Pair higher ISO with proper lighting—your camera may love flexibility, but too much noise can overpower the magic. Keep practicing, and watch your creativity take center stage!
Common Mistakes and How to Avoid Them

When Lighting Tricks You
So, you’ve lined up the perfect shot. Your subject looks dreamy; the moment feels magical… but then the print develops, and BAM! It’s overexposed or so dark it’s practically a shadow puppet show. Sound familiar?
One of the biggest culprits here is mishandling your camera’s exposure settings. Beginners often forget to adjust for changing light conditions—what works indoors won’t work under the blazing sun. A quick rule of thumb? When in doubt:
- Dull, cloudy day? Nudge your exposure towards brighter settings.
- Sunlit afternoon? Dial things down to avoid blowing out those highlights.
Your instant camera isn’t psychic (yet). Baby it by adjusting thoughtfully.
The “Oops, Forgot!” Moments
Let me paint you a picture: you’re too excited, you snap away, but—oh no!—your focus was off, or you forgot to check the lens setting. Hand up if that’s happened before! Instant cameras often demand attention to their humble little dials. Before clicking, double-check: Is the lens set to macro mode when it should be on normal? Did you slide the focus just right for the distance? These little details make a world of difference.
Remember, photography is like cooking: missing one ingredient can ruin the recipe!
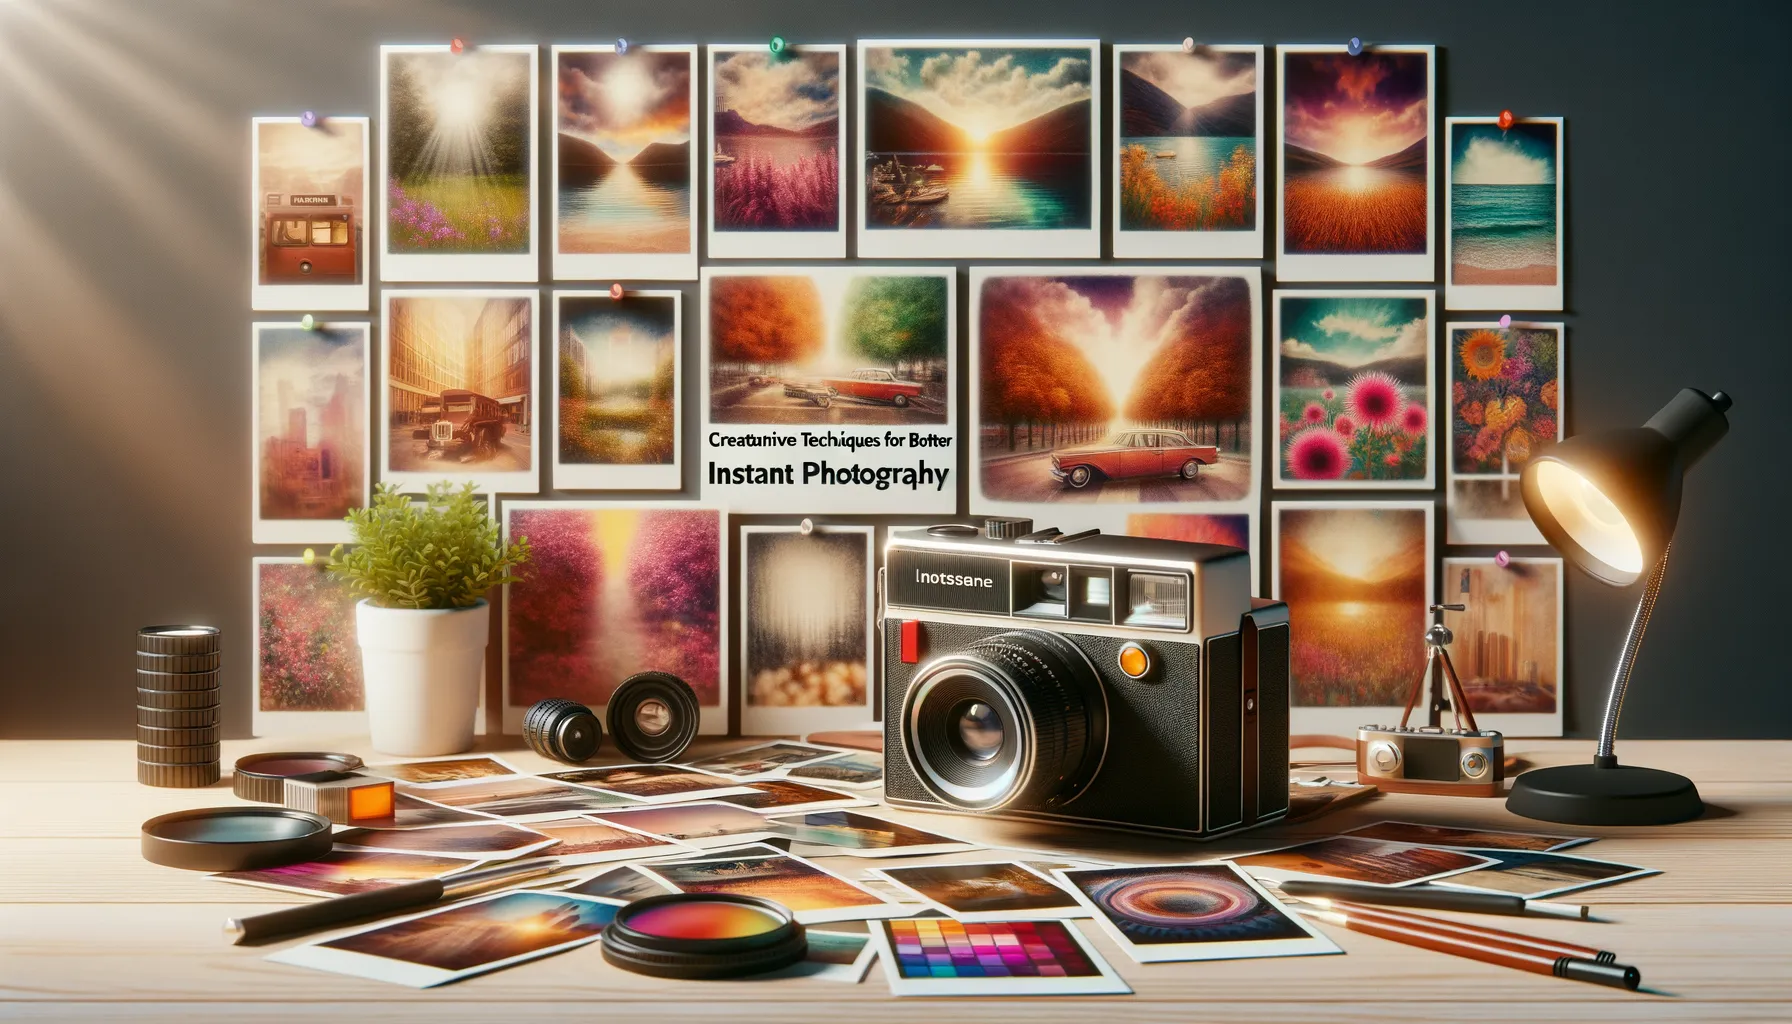
Creative Techniques for Better Instant Photography
Play with Light and Shadows
Instant photography is like painting with light—bold, unpredictable, and full of personality. To elevate your shots, don’t just snap wherever you are; think about the *mood* that light creates. For example, try placing your subject near a window as streaks of sunlight filter through blinds. The result? A mesmerizing play between bright highlights and deep shadows that draws the viewer in.
Shooting outdoors on a cloudy day? Perfect! Soft, diffused light adds a dreamy quality to portraits or landscapes, while golden hour (the hour after sunrise or before sunset) bathes your photos in warm, honey-like tones. Want something truly dramatic? Carry a small lamp or flashlight and experiment with backlighting your subject—it can create a glowing silhouette effect you’ll love.
- Try shooting under fairy lights for a whimsical vibe.
- Use everyday objects like lace or leaves to create unique shadow patterns on your subject.
Think Beyond Eye-Level Compositions
Sometimes, the magic happens when you change *your angle*. Instead of always snapping photos straight-on, get playful! Lie on the ground and shoot upward for a towering perspective of trees or buildings. Kneel at a child’s height to capture their world from their eyes. Tilt the camera just slightly to add spontaneity to otherwise structured shots.
Want a more abstract feel? Get up-close and personal with textured objects—a weathered doorknob, steaming coffee swirling in a cup, or raindrops on glass. These details tell silent stories that often go unnoticed. Remember, with your instant camera, *imperfection isn’t a flaw—it’s a style.* Embrace it!
Maintenance and Care for Your Instant Camera
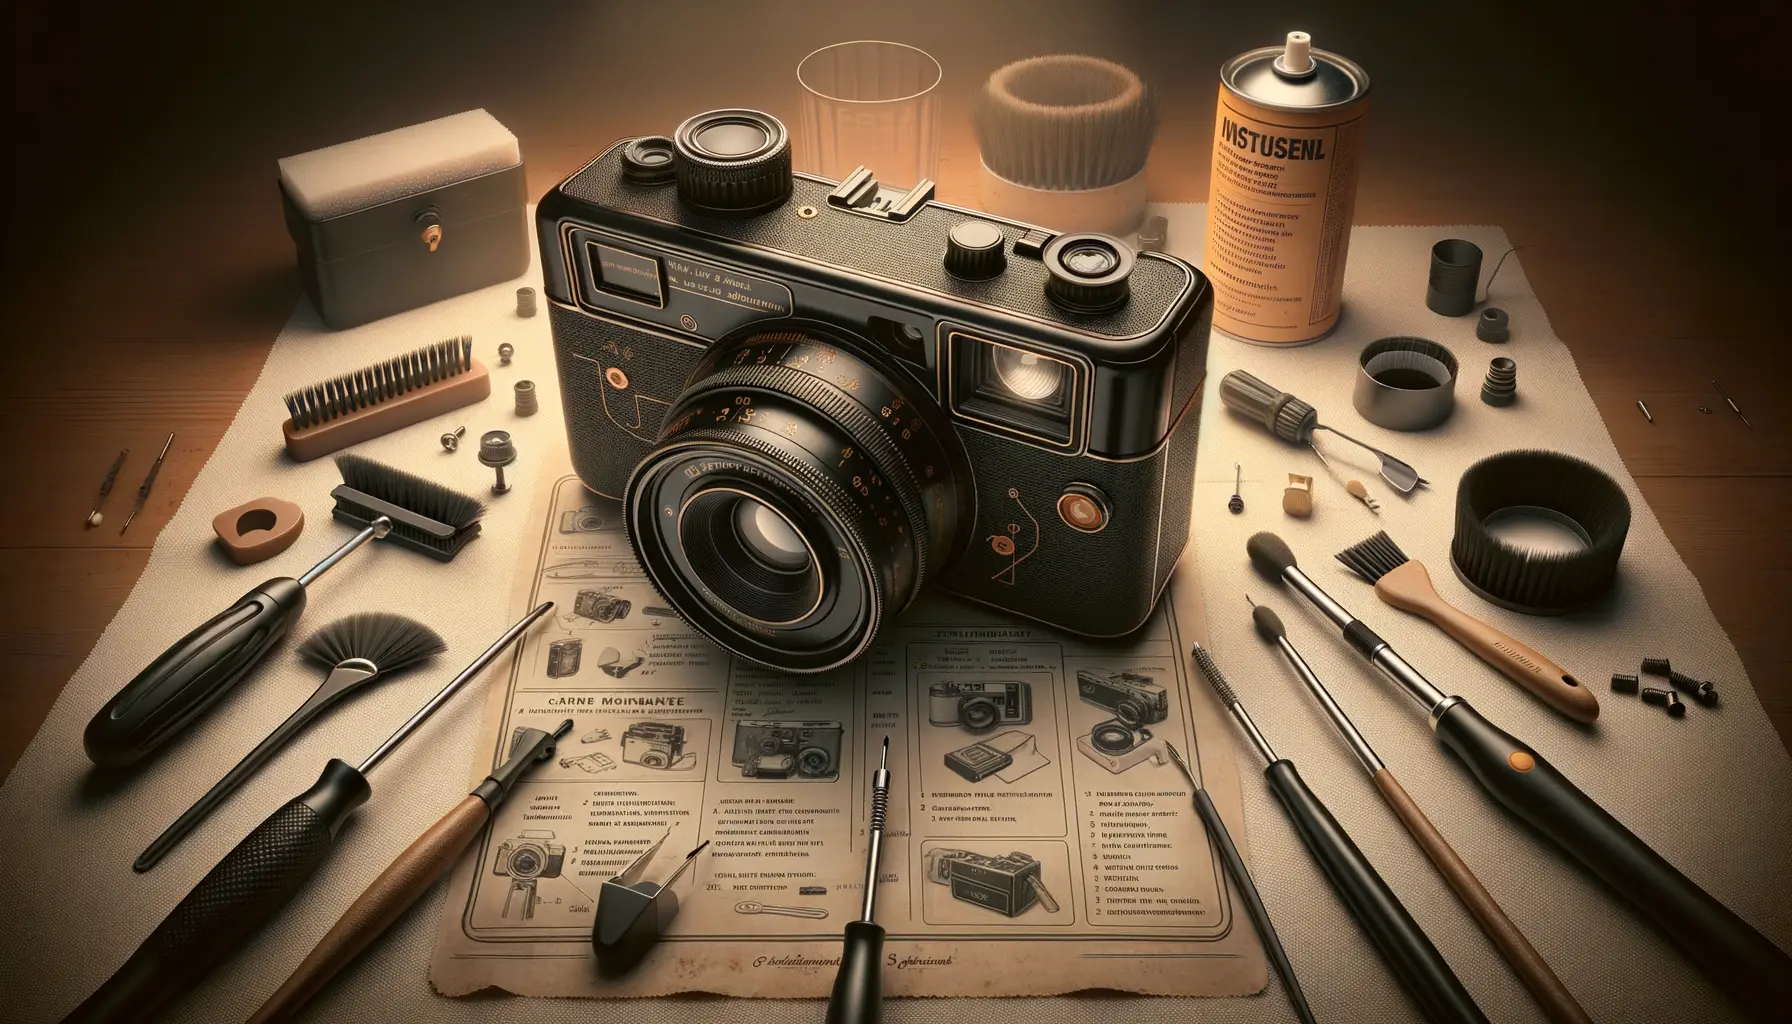
Keep It Clean and Camera-Ready
You wouldn’t wear your favorite white sneakers into a mud puddle, would you? The same goes for your instant camera! Dust, grime, and fingerprints can sneak their way onto your lens or film slot, wreaking havoc on your dreamy shots. Keep a soft microfiber cloth handy and gently polish the lens weekly — think of it as a mini spa day for your camera.
If the viewfinder starts looking foggy or cluttered, give it a quick wipe too! For stubborn dirt on crevices, a small blower or canned air can work wonders (but go easy; your camera’s not a birthday candle). And whatever you do, resist the temptation to use harsh cleaners—they’ll damage more than they fix.
Storage: Where Your Camera Feels at Home
Let’s talk storage. Your instant camera deserves a cozy place to live! Follow these tips:
- Avoid direct sunlight: Heat is your camera’s enemy; always protect it from scorching rays.
- Keep it dry: Humidity can mess with the internal components and even ruin your film.
- Invest in a case: A sturdy yet cushioned camera case shields your gear from scratches, bumps, and that rogue cup of coffee. Trust me—it’s worth it!
Love your camera, and it’ll love you right back, frame after glorious frame.